Sustain / Real Bread Campaign / About
Making Real Bread at home

For fun, food and family.
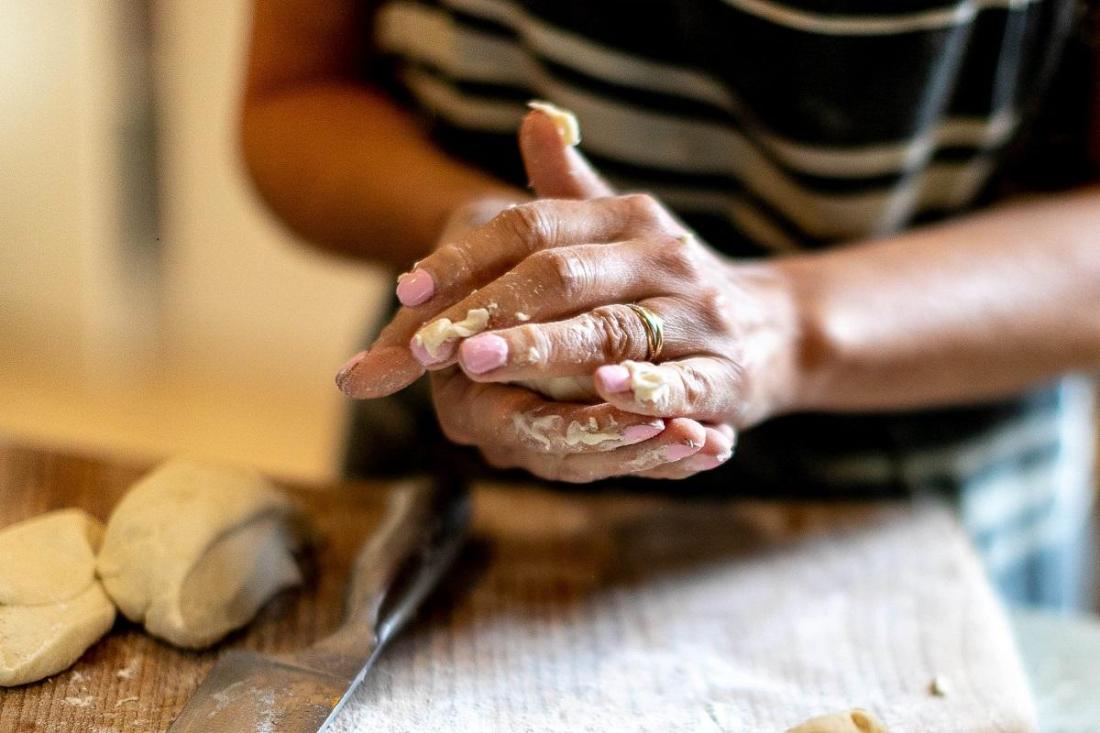
It's been said so many times but what beats the smell (and taste) of fresh, Real Bread that you have lovingly made yourself, by hand or in a machine?
Making your own is a great value way of producing delicious, nutritious Real Bread for about the same price as even the cheapest industrial loaf, just without the cocktail additives and perhaps undeclared processing aids.
Like anything that you haven’t tried before, the idea of baking your own loaf can be daunting, so here we have a few thoughts that might help to build up your confidence.
- Child’s play
- Time
- Energy saving
- Ingredients
- Equipment
- Alternatives to the oven
- Conversions
- Recipes
- Slowing staling and storing bread
- Troubleshooting
- Links and more
See also:
Child’s play
Don’t be afraid - though professional Real Bread making requires a lot of skill and experience, baking a basic loaf at home is something that kids can do.
With nothing more than flour, water, yeast (perhaps in the form of a sourdough starter) and a little salt, anyone can turn out a loaf to be proud of. Even without an oven, you can produce a variety of Real Breads on a stove top or in a bread machine.
That said: If for some reason your bread doesn’t turn out the way you expected, please try not to be discouraged – see the top tips in our mindful baking guide.
Go back to the recipe to see if you overlooked something (also see troubleshooting below) and give it another go. If it’s any consolation, the Real Bread Campaign co-ordinator used his first ever attempt as a doorstop but got back in the saddle and
Time
Unlike industrial loaf fabrication, making Real Bread takes time, but most of it is not your time.
You could be looking at minutes here and there, woven into your day:
- 10-20 minutes: Measuring, mixing and working the dough
- 5 minutes: Shaping your loaf
- 2 minutes each: Putting it into and taking it out of the oven
The rest of the process (proving and baking) doesn’t require your input at all, leaving you free to do other things – watching telly, hoovering the carpet, reading a book, fixing that thing like you’ve been meaning to, endless scrolling on social media, stopping the kids from each other or whatever.
If you’ve chosen a long fermentation method, you might even be able to leave your dough (unlike the kids) at home for several hours to get on with its business while you go off and do something else.
Energy saving
To make the most efficient use of your oven, both in terms of your utility bills and also the cost to the environment, we encourage you to bake more than just one loaf at a time.
- If you have a deep freezer, bake several loaves at once, then slice and freeze those that you won’t be using within a day or three.
- Plan your baking so that your bread making coincides with cooking another oven dish or two – e.g. roasts, pies, stews, casseroles, baked spuds, cakes etc. Start cooking those that require higher temperatures or longer cooking at the same time as the bread. Once your loaf/ves are done, adjust the temperature as necessary for dishes that need a lower temperature. Even if cooking goes on for a time after your bread is baked, it will still consume less energy than heating the oven up from cold for two separate sessions.
- If you have one (or can find somebody who will give you theirs) use a bread machine.
Back in 2009, The Energy Saving Trust estimated that baking a loaf of bread in an electric oven uses around 1.6kWh per use and that a gas oven consumes around 1.5kWh per use.
Ingredients
We go into more detail in our book Slow Dough: Real Bread, but here are some notes on the basics:
Flour
- We encourage the use of stoneground flours, preferably produced from organic grain that has been grown and milled locally. For reasons why, please see our FAQs page
- Check the ingredients list to make sure the mill has not added any ‘improvers’ or other additives. You might even consider asking them if they have added anything and failed to declare it. This even applies to organic flours. See also our page on ascorbic acid.
Yeast
Your choices are baker's yeast or those in a sourdough starter. The former is a strain of Saccharomyces cerevisae that's been isolated and selectively bred to make dough rise consistently and relatively quickly, compared to the culture of naturally-occuring yeast(s) in a starter. When using commercial yeast, please read the label and avoid any brand that contains additives. Click here for more information.
Water
Don't waste your money on bottled water, as some people suggest - mains/tap water is just fine. Many great bakeries use it and, after experimenting with water treated in five different ways, the authors of Modernist Bread reported "there was almost no difference in the final loaves in terms of taste and size."
Salt
Table salt is fine, though avoid any that contain an anti-caking agent. Such an additive would put your loaves outside our definition of Real Bread.
Otherwise, salt is salt and too much is bad for you. You may choose to use rock or sea salt, but they aren't 'heathier' or 'saltier'. The UK government recommends that bread should contain no more than 0.9% salt. Read more. To read more about why and how to reduce salt to make yours better bred bread,
Other ingredients
By definition, anything else is unnecessary! Read more here.
Other natural ingredients are fine by us but before adding sugar, fat or whatnot, please ask yourself: why?
Equipment
Kit-wise, all you really need is things to measure, mix, prove and bake your ingredients. This could be as simple as: Scales, bowl, tin/tray, oven.
Here are some further thoughts, with thanks to Campaign supporter Gaye Whitwam of Sticky Mitts.
Mixing bowl
Any bowl will do but it needs to be large enough for the dough to double in size. A 3 litre bowl is a good size for about a kilo of dough.
Dough scraper
One of the most useful extra utensils in bread-making. Use the scraper to mix the dough, to cut dough, to lift dough off the worktop, to clean dough out of the bowl, off your hands and work surfaces.
Large plastic bag (e.g. a carrier bag)
Put your bowl of dough inside the bag, making a tent so that the top of the bag doesn’t stick to the dough while it’s proving. This will keep the dough from drying out and forming a skin. Turn the bag inside out when you have finished to dry out. You can then fold up and use again and again.
Loaf tins
A tall-sided, good quality metal tin will give excellent results and a traditionally shaped loaf. For home baking, good quality non-stick coating is useful, though professional bakers almost always choose tins without as it wears off quickly with heavy use.
If your loaf doesn’t easily come out of the tin after baking, leave it a few minutes and then try again. If it still sticks, then use the straight edge of a dough scraper to release the edges. This is normally where the sticking occurs. Don’t be tempted to use a knife as you could puncture your loaf and scratch the non-stick coating of the tin.
Baking trays
The thicker the tray the better as thin trays buckle in the high heat of the oven. Grease the tray, sprinkle it liberally with flour or use baking paper/parchment.
Thermometer
Useful (but not essential) for testing the temperature of water and the finished dough which, ideally, should be around 27-28C. You can also use a probe to test the temperature of a baked loaf - more reliable than the 'tap the base and listen for a hollow sound'.
Oven thermometer
Not essential but, as the thermostats on domestic ovens tend to be inaccurate, a thermometer is useful to ensure your oven is at the temperature it says it is.
Cooling rack
Always cool your loaf on a rack otherwise the bottom will ‘sweat’ and go soggy. If you don’t have a cooling rack, use something else that will allow air to circulate under the loaf, like the rack from a grill pan or the shelf from the oven.
Alternatives to an oven
We know that not everyone has an oven, which is one of the reasons that we recognise the value of a bread machine. There are alsso many breads that can be cooked on the stove top, either on a flat pan, upturned wok, or in something like a casserole or Dutch pot.
Measurements
For absolute accuracy, we use grams in our recipes and recommend using electronic scales to weigh all ingredients including liquids.
If you don’t have access to electronic scales, then accurate conventional scales, measuring jug and measuring spoons (i.e. not just the ones you use to eat with) will help you to get the best results.
That said, don’t panic! Unlike professional baking, the home made loaf is pretty forgiving. you might not end up with exaclty the loaf you intended, but it'll still taste great!
Here are some conversions that you might find useful.
- Water: 1ml = 1g
- Salt (fine): 5ml = 6g (approx)
- Dried yeast: 5ml = 4.4g (approx)
- Flour: 1 cup = Who knows? It depends on how tightly or loosely packed it is
The following yeast conversions are taken from WildYeast.com
- 1tsp instant = 3.1g
- 1tsp active dry = 2.9g
- 1g instant = 1.25g active dry = 2.5g fresh
- 1tsp instant = 1.3tsp active dry
- 1g active dry = 0.8g instant = 2g fresh
- 1tsp active dry = 0.75tsp instant
- 1g fresh = 0.5g active dry = 0.4g instant
Troubleshooting
We encourage Real Bread Campaign supporters with questions to visit The Real Baker-e, where your fellow supporters (who include many professional and home bakers) might have suggestions.
You can also try the #sourdough and wider #RealBread hive mind using the hashtags on social media.
Please also see the list on our companions page for a number of sites and books that provide a host of tips and information.
Slowing staling and storing bread
Despite the continued efforts of industrial loaf fabricators, additive manufacturers, cosmetics companies, genetic engineers, that song by Cher and so on, you can’t turn back time. As we note in our call for an Honest Crust Act, fresh means (or, rather, should mean) just made.
No matter what additive mongers and marketers say, neither bread or industrial loaves can be made to stay fresher longer - we see attempts at doing so as loaf botox.
When it comes to bread, however, there are ways of slowing staling down a little. Staling is an effect of water loss and starch retrogradation. The latter is a process in which chains of starch molecules in bread move from a flexible gel when just-baked, back to a stiff, crystalline state.
The wetter the better
The higher the water content of the dough, the longer it will take for the bread to dry out and for the starch molecules to move back to their original state.
A little oil
In small quantities, fat (or oil) stops the water that is attached to the starch molecules from ‘getting away.’ It also slows down the movement of water that is not joined to the starch molecules. This ‘free’ water also helps to stop the starch chains coming back together in their original state. That said, if you have a lovely wet dough, the oil won’t make all that much difference.
Bake sourdough
Long slow fermentation using a sourdough culture not only produces fantastic flavour, but also one that stales more slowly and inhibits the growth of mould. Make sure the baker does it for real, though – not just throwing some yoghurt, sourdough powder or culture to flavour a loaf made in an hour or two using commercial yeast or baking powder.
Don’t slice until cool
Tempting though bread fresh from the oven is, it’s best if left to cool before slicing. If cut when still warm, bread will lose much more moisture as steam than if left intact. Allowing the bread to cool means more of this water will be kept in the loaf, helping it to stay moister longer.
Keep wrapped
Once completely cool, put the loaf in a container or bag that will reduce evaporation. NB – if you don’t wait until it’s completely cool, or you move the wrapped loaf straight to a much cooler environment condensation can form. This can encourage another enemy of an aging loaf – mould.
Keep cool
As the warmer the environment the faster the evaporation, a hot kitchen isn’t the best place to keep a loaf. If you happen to have an old-fashioned pantry, great, but most of us don’t, so try to find somewhere cooler in the house. Otherwise, find the coolest spot in the kitchen but…
Don’t refrigerate
Starch retrogradation takes place most quickly at fridge temperature, so whilst it might slow down the growth of mould, it will speed staling.
Freeze
This might seem to contradict the previous tip, but freezers operate at temperatures below the ‘danger zone’ for starch retrogradation. Staling will be speeded as the loaf is about to freeze and as it thaws, but these periods of accelerated staling will last only minutes, compared to hours (or days) sitting in a fridge. It’s best to allow it to defrost at room temperature – thawing in an oven or microwave will cause more moisture to evaporate.
Unless you plan to eat the whole loaf on the day you thaw it, slice before freezing, so you can take it out as needed.
Resuscitation and recycling
A short-term revival technique for stale bread is to dampen a whole loaf very slightly (not too much – nobody likes it soggy) and put in a medium oven until it is warmed all the way through. This won’t reverse the staling, but will make the bread more flexible again for a short while. The time depends on the size and shape of loaf, but will be from about ten minutes for rolls and baguettes, up to maybe twenty-five for a large loaf.
If you believe in a god, then toast is why he/she/it invented staling. Stale Real Bread makes the best toast. And that’s before we even get to bread and butter pudding…
You can find a version of B&BP and other fine ways to recycle stale bread in our recipes section, the Love Food Hate Waste website and many of the books on our companions page.
We also wrote an article for the Love Food Surrey website.
For more on the science of staling (not to mention of bread and food in general), see McGee on Food & Cooking by Harold McGee. Andrew Whitley dedicates a chapter of his book Bread Matters to ‘growing old gracefully.’
Recipes
Shameless plug: There are around 90 recipes in our book Slow Dough: Real Bread.
You can also find a small library in our bake section. There are umpteen books of bread recipes: See our companions page for a list of just a few.
Unless you are making a bread whose character is dependent on sugar and/or fat (e.g. brioche, hot cross buns, lardy cake, certain types of focaccia etc.) you probably can omit them. Other natural ingredients are fine by us but before adding sugar, fat or whatnot, please ask yourself: why?
Links and more
- FAQs
- Dried yeast for Real Bread
- Salt in bread
- Ascorbic acid
- Links and books
- Bread machines
- Bread clubs
- Classes and courses
- Open letter to all bakers in Britain
You can find a wealth of information in Knead to Know, our guide to success in running a Real Bread enterprise of any sort.
- The number of classes and courses that offer business advice as well as bread making continues to grow. Many offer discounts to Real Bread Campaign supporters.
- If you're a Campaign supporter, you can pick the brains of fellow supporters, including professionals and microbakers, in The Real Baker-e.
- If you are baking Real Bread for sale, please feel free to add your loaves to our Real Bread Map.
- You might also like to take advantage of The Real Bread Loaf Mark.
- You can find many more links to further information on our companions page.
Real Bread Campaign: Finding and sharing ways to make bread better for us, our communities and planet.


