Sustain / Real Bread Campaign / Articles
Ten top Real Bread tips
Chris Young of the Real Bread Campaign shares some upper crust ideas to help you towards better bred bread.

- Unless you’re making an enriched bread (like milk bread or brioche), leave out any added sugar or fat a recipe calls for. Though they both have their uses, neither is needed to make plain Real Bread and so just add unnecessary extra calories.
- Avoid sachets yeast labelled ‘instant’, ‘fast acting’ or similar. Almost all those the Campaign has found contain one or more artificial additives or added enzymes. Dried active yeast (usually sold in cylindrical tins) used to be an additive-free option, but the manufacturer of the only brand still widely available in the UK now uses one or more additive, Choose fresh yeast if you can get it, or nurture your own sourdough starter – they are all additive-free and work out cheaper per loaf.
- Check to see if you have an independently-owned mill in your area. Buying their flour will help support local jobs and so the local economy. Even better if it’s a traditional wind or water powered mill, which use non-polluting, carbon-neutral, and fully-renewable sources of energy to stone-grind flour that retains much of the natural micronutrients and flavour of the wheat. For a few extra pence, you’ll get delicious, additive-free Real Bread that still competes in price with even the cheapest so-called ‘value’ loaf.
- Slow down! The best Real Bread takes time, but most of it isn’t your time. The more time dough is given to ferment and ‘ripen’, the more flavour it develops. Think of the difference in taste between luscious, soft, sweet, summer tomatoes left to ripen in the sun, and a year-round ‘nominal tomatoes’ (as Michael Pollan calls them) rushed to blush by an ethylene gassing. Want to leave your dough while you go out for a few hours or even rising overnight? Then put it in the fridge, which will slow the yeast down. Take out and leave at room temperature for an hour, or until it’s fully risen before baking.
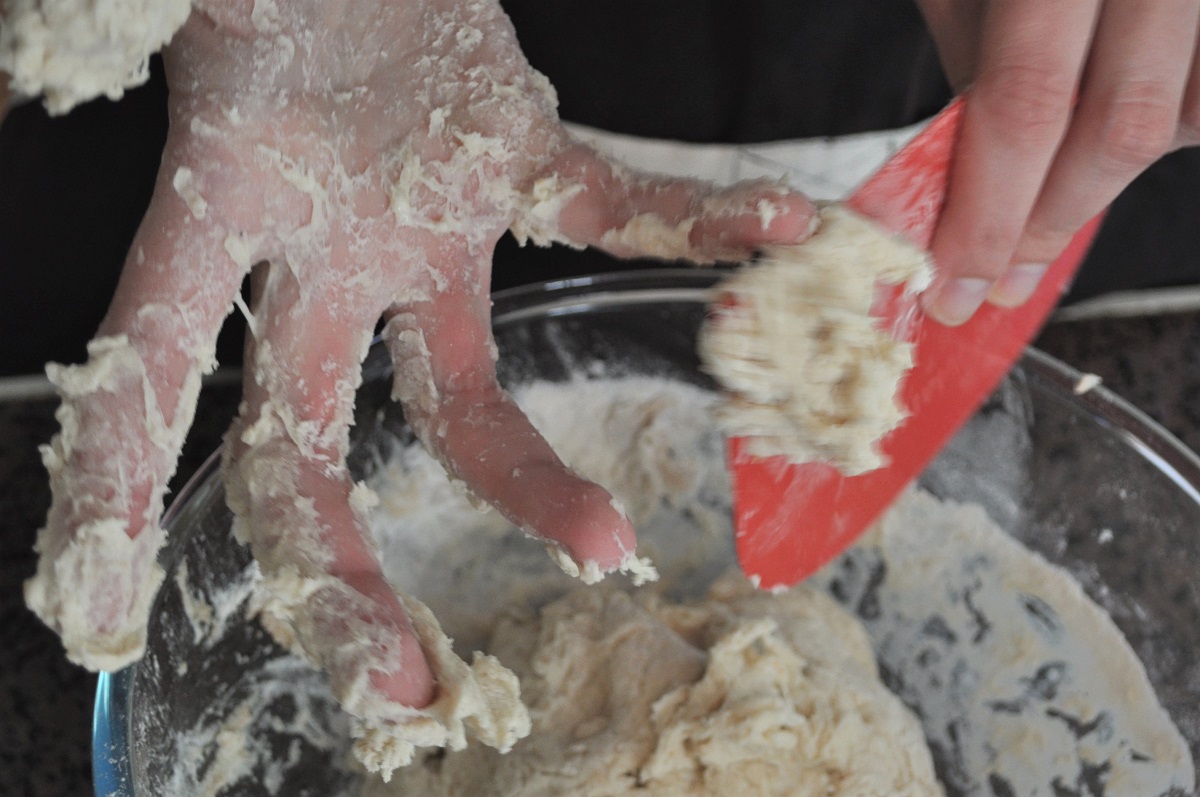
- Don’t get scared of sticky dough and start chucking extra flour all over the place! As you work the dough, it will absorb more of the water, and as Real Bread Campaign co-founder Andrew Whitley says in his book Bread Matters: ‘the wetter the better.’ A wetter dough is stretchier, so gives a soft, open crumb (i.e. the part of bread that’s not the crust), and it also shows the signs of staling more slowly – without the use of an industrial baker’s ‘chemistry set’ or secret stash of (legally) hidden processing aids.
- Give your loaves a crackly, glossy crust using a heavy casserole or Dutch pot that’s large enough to take your fully-risen loaf. Turn your oven up as high as it will go to heat the pot and its lid for about twenty minutes. Carefully slide the risen dough into the pot and using thick oven gloves put the lid on. This will trap the moisture evaporating from the dough and turn it to steam that will cause the starch at the surface of the loaf to become a gel. After fifteen or twenty minutes, turn the oven down to the temperature in the recipe and remove the lid, which will allow the gel to crisp and brown as the loaf finishes baking.
- If you can, try to spend some time baking with an experienced baker, either on a course or in the bakery. He or she will be able to troubleshoot your problems and being invited to prod the dough will give you a better idea of when it’s ready for the oven than a book’s instruction like ‘leave until doubled in size’ ever will. Once you have the skills perfected yourself – please pass them on to others!
- Dig out your unloved bread machine to bake Real Bread or pass it on to someone who will! Though we reckon it’s better to go down the slow route, a breadmaker loaf is still a cheap (and energy saving) way to take control over exactly what does (and doesn’t) go into your family’s toast and sandwiches.
- Don’t put your Real Bread (or an industrial loaf) in the fridge. Staling happens fastest at fridge temperature. There are better ways of slowing staling and preventing waste. If for some reason you don’t think you’ll wolf down all of your delicious home-baked loaf in a day or two, let is cool, slice it and then freeze it.
- No independent bakery in your area and you reckon your loaves are the best for miles around? Why not give friends and neighbours the chance to enjoy delicious, fresh Real Bread by starting a microbakery from your own kitchen? You could bake ten or a twenty loaves once a week to set up a bread club or sell at a local market.
Find much more in our book Slow Dough: Real Bread and our microbakery guide Knead To Know
Published Sunday 24 February 2019
Real Bread Campaign: The Real Bread Campaign finds and shares ways to make bread better for us, better for our communities and better for the planet. Whether your interest is local food, community-focussed small enterprises, honest labelling, therapeutic baking, or simply tasty toast, everyone is invited to become a Campaign supporter.

