Sustain / Real Bread Campaign / Recipes
Chris Young’s bag o’ bread
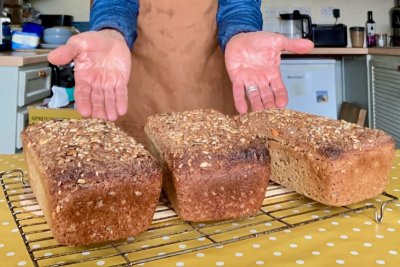
One bag = three large loaves
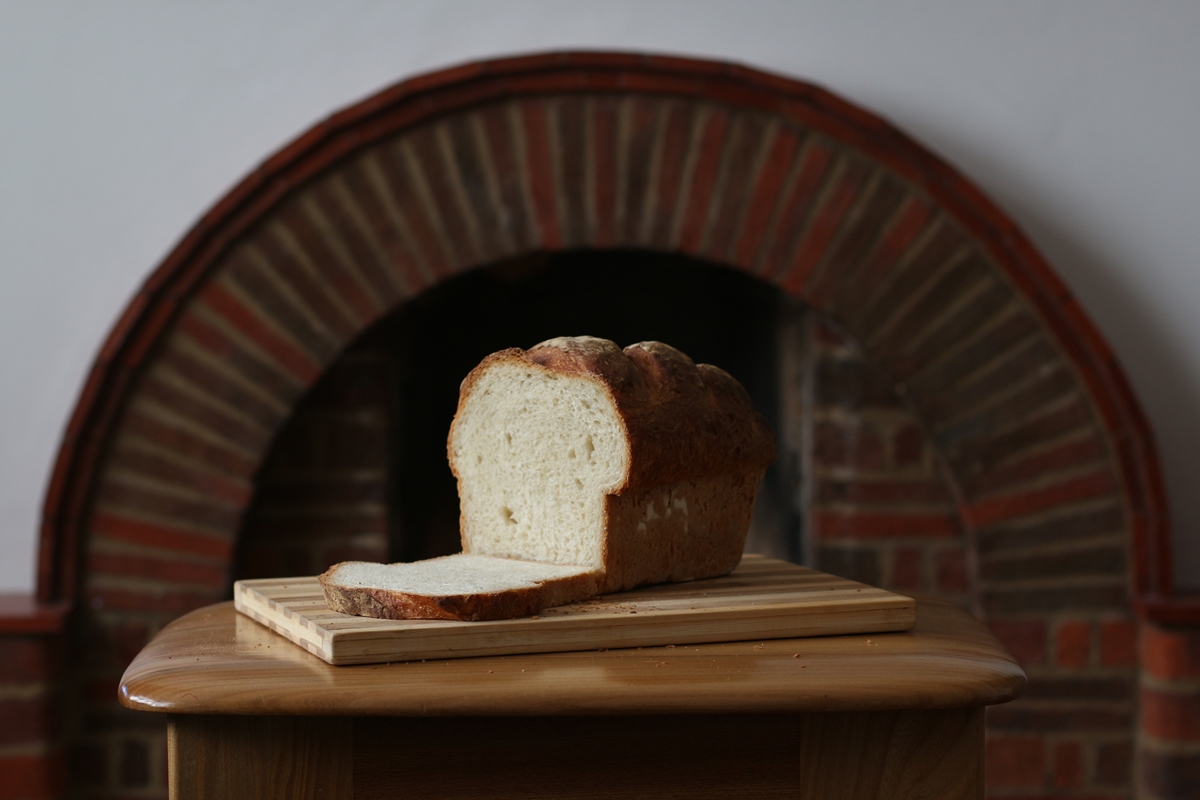
This bread, which uses a whole 1.5kg bag of flour to make (almost) enough to last our family a week, has become a lockdown staple in our flat. I make it on the weekends I forget to get my sourdough starter out of the fridge for its Friday refreshment, or manage that but don’t get round to making a leaven before going to bed.
It’s a bread for whenever you have a day largely spent at home, which is most days for many of us during lockdown… You make the dough in the morning and give it a bit of a fold every now and then when you’re up and about. It’ll be ready to bake in the evening when you’ve got the oven on to make dinner, ready to be toasted for breakfast the next morning. Often a third of the dough is our dinner, in the form of a base for a rather 1980s British take on pizza.
Ingredients
Makes three largish (about 800g) loaves
1500g Strong / bread flour (white, wholemeal or a mix)
950-1000g Water (warm)
20g Salt (about one level 15ml tablespoon)
10g Fresh (or 3.5g fast-acting*) yeast
Optional
50g Milk powder
15g Butter (melted) or oil
200g Sourdough starter (100% hydration, refreshed)**
These additional ingredients contribute to flavour, softness and slowing staling, but are not essential.
*Read the label and avoid any that contains additives, which fall outside the Campaign’s Real Bread criteria.
**NB this doesn’t make this sourdough bread. Read about sourdough and sourfaux
Method
Basically: Mix, leave, stretch every now and then, shape and bake.
Put most of the water in a bowl and stir in the salt and yeast (plus the milk powder, butter and sourdough starter, if you’re using any of them) until dispersed.
Mix in the flour until it all comes together as a rough dough but with no dry flour lurking about. If it’s too dry and stiff, add in the rest of the water and perhaps a bit more – the wetter the better, frankly. As the dough develops you’ll find that a really wet dough will get less sticky due to the gluten forming and the starch and any bran hydrating. Bran in brown and wholemeal flour really sucks up water, so you’ll need even more than if just using white flour.
Cover the bowl (eg with a shower cap or carrier bag that you can reuse again and again) and leave to rest for half an hour or so.
Scoop the dough out of the bowl (with a wetted dough scraper, if you have one) stretch and fold it in half, then repeat this action a few times. You can find videos demonstrating how on t’internet. Place the dough back in the bowl and cover again.
Leave at room temperature to prove/rise. Depending on what temperature your room is (mine is usually about 19-20°C) this might be seven or eight hours. During this time, repeat the stretch’n’fold action every now and then so it ends up smooth and stretchy by the end.
Divide the dough into three pieces of equal weight (or roughly equal size, at least) and shape however you like eg to put in a banneton, an oiled tin, or free-standing on an oiled baking tray. Again, the intermesh is full of shaping how-to videos. Cover and leave the dough for two or three hours until it’s fully risen.
Heat the oven (with a baking stone or tray in place if you’re proving dough in a banneton) to about 220°C.
If proved in a banneton, turn the dough onto a dusted peel or board. Dust the top of the dough with flour, if you like, and/or slash it with a lame/grignette or super sharp knife and then put straight into the oven.
Bake a large loaf for about 45 minutes, or small ones for about half an hour. Turn out onto a wire rack and leave to cool before slicing – bread can be gummy and lose a lot of moisture (and so stale more quickly) if cut when hot.
Baker’s tips
Since I started mingling with professional bakers over a decade ago, I continue to learn very useful and (because I am, though not a pro baker, a proud bread nerd) interesting things. They include:
The wetter the better. Please don’t be scared of sloppy dough! Higher hydration (ie more water) creates a more extensible (ie stretchy) dough. This makes yeast’s job of inflating all those little bubbles during proving/rising easier. Higher hydration doughs tend to produce bread that is moister, less crumbly, glossy inside and stales more slowly.
Get into shape. Following guides on how to shape dough – rather than just rolling it into a ball or sausage – will help you make bread that has a better structure, rises evenly and looks great.
A cut above. Scoring dough just before baking isn’t just about appearance. During the first stage of baking (oven-spring) cuts enable the dough to open up more – wihout them, bread tends to be ‘tighter’ and denser. They also help you to control how the dough expands, reducing the risk of uneven and unattractive ‘bursts’.
Recipe text © Chris Young / www.realbreadcampaign.org
Social sharing
If you make this, please share your photo(s) with the world on social media using #RealBread and other relevant hashtags, linking back to this recipe. Better still if we can see you in the photo, too: #WeAreRealBread!
Please don't forget to tag us, and the recipe's author. You can find us on:
- Twitter: @RealBread
- Instagram: @RealBreadCampaign
- Facebook: @RealBreadCampaign
Published Saturday 20 February 2021
Real Bread Campaign: The Real Bread Campaign finds and shares ways to make bread better for us, better for our communities and better for the planet. Whether your interest is local food, community-focussed small enterprises, honest labelling, therapeutic baking, or simply tasty toast, everyone is invited to become a Campaign supporter.


